How It Works

Interested in a lead capture tool for an event you are hosting?
Cvent LeadCapture is what you’re looking for.
Interested in a lead capture tool for an event you are hosting?
Cvent LeadCapture is what you’re looking for.
TRUSTED BY COMPANIES AROUND THE WORLD


From the largest international trade shows to small networking events, and everything in between, iCapture provides a single solution for all of your mobile lead capture needs.
A consistent and seamless solution for reps in and out of the booth.
Get contact information and qualifiers in seconds for fast follow up.
Reengage post-show with rich qualifying data for stronger sales calls to win more deals.
Show up to trade shows and events with your own solution, customized to meet your lead capture needs. With the speed, consistency, and visibility provided by iCapture, you will cut lead follow-up time from weeks to minutes and drive revenue.
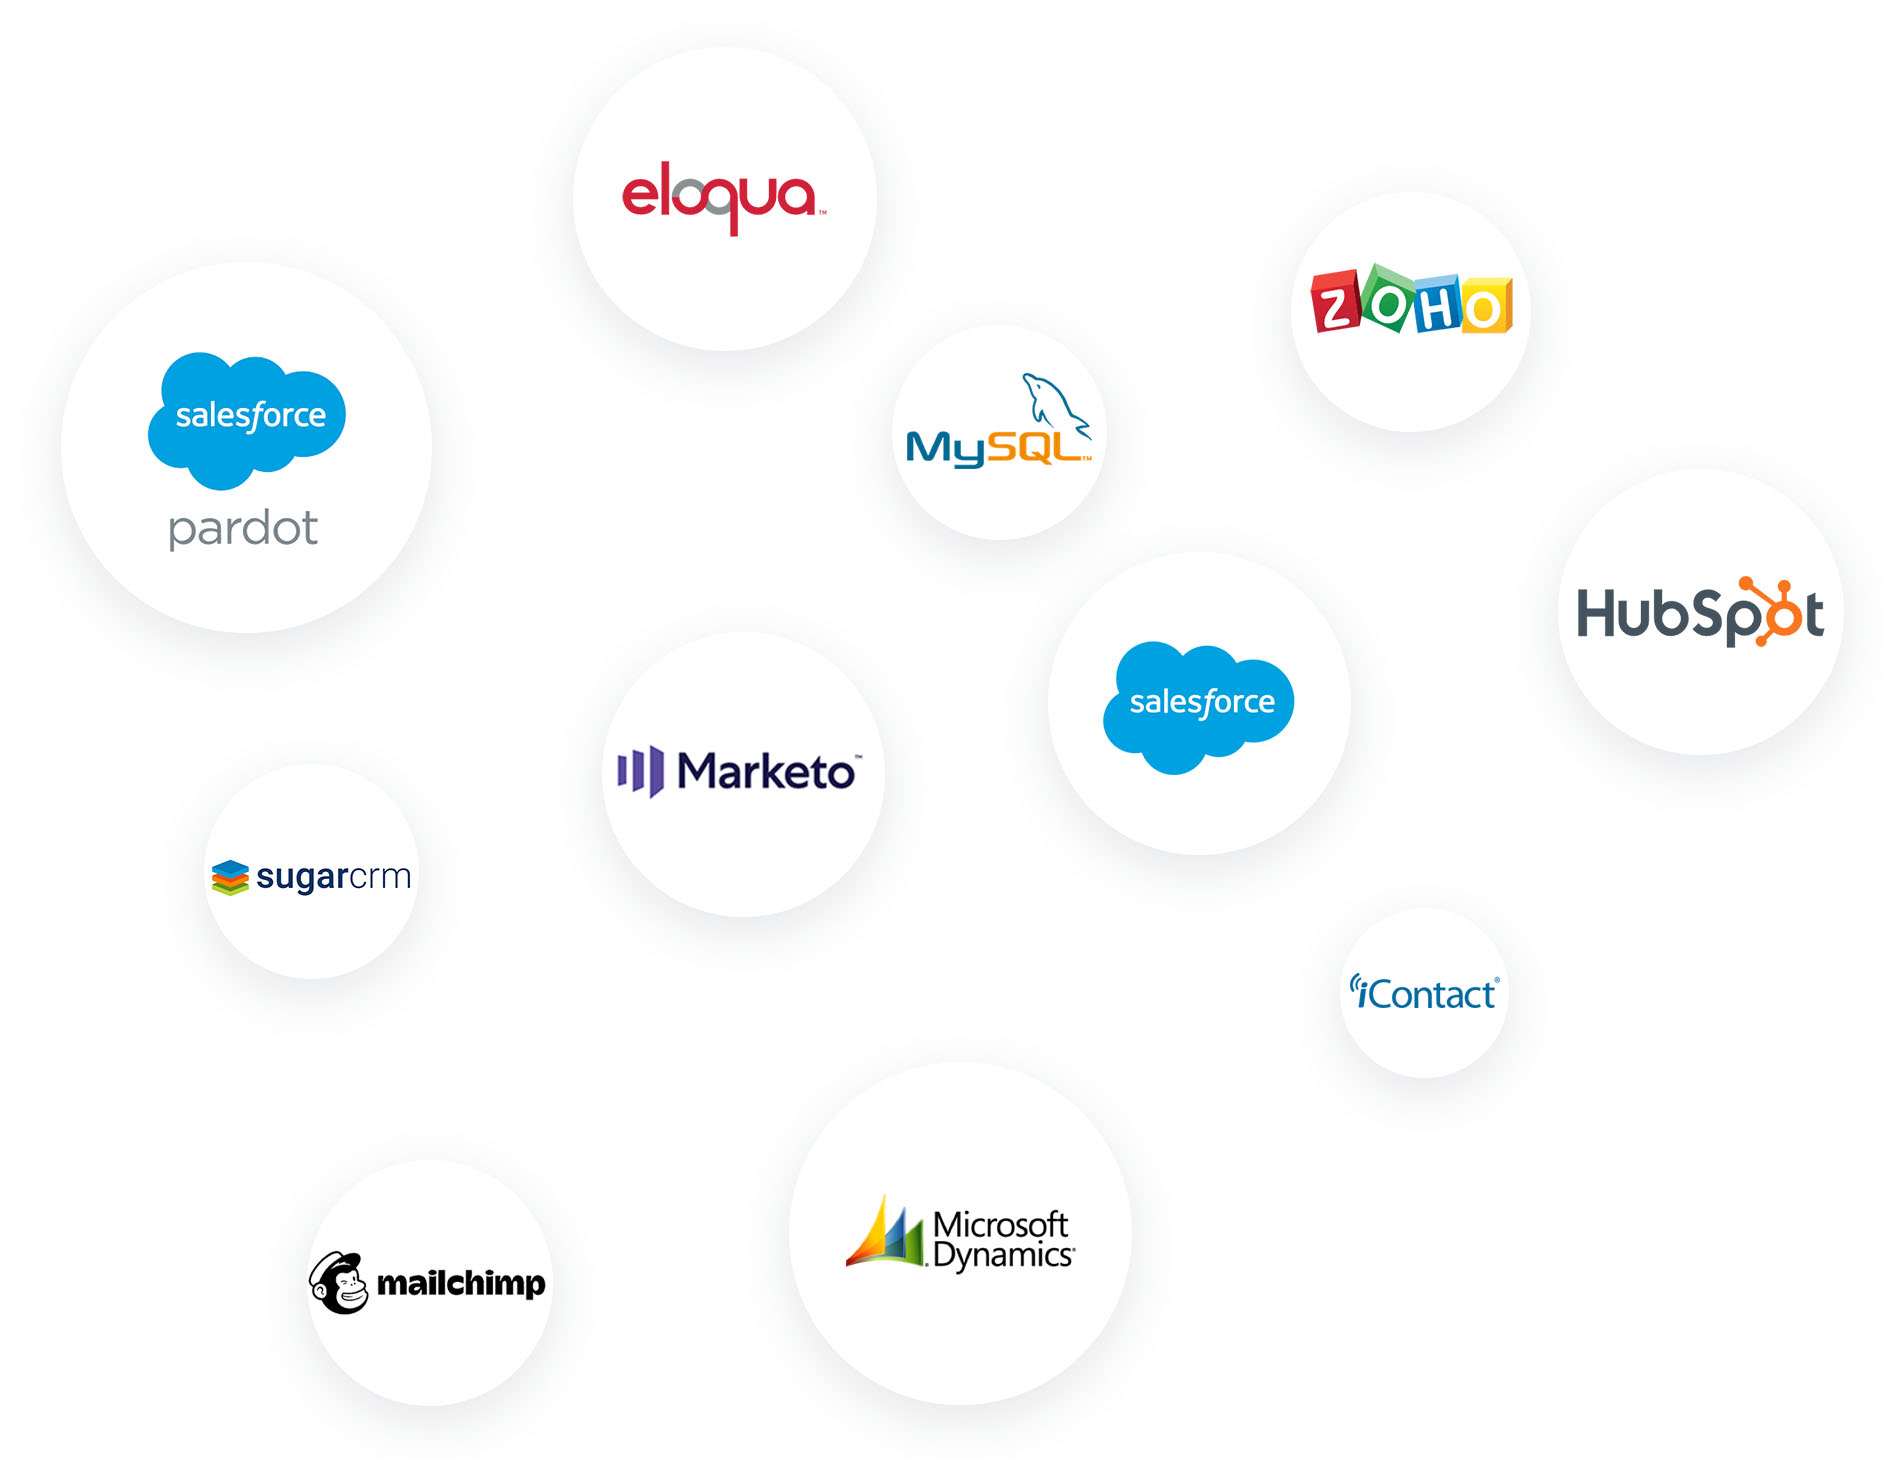
Data when and where you need it, synced directly to your CRM or Marketing Automation System. Each integration is built in-house to ensure compatibility and consistency. All integrated platforms are connected via secure encrypted connections.
Learn about how iCapture can help you maximize your leads with a 1:1 demo with one of our specialists.